It never fails that the weekend DIY projects you expect to be a breeze end up costing you hours of frustration and disillusion and broken nails. (Remember that time you set aside some time to hang those IKEA shelves only to find out that your walls were actually made of brick?) Meanwhile, the jobs you decide to hire out almost always end up being the ones you could have totally tackled on your own.
What's done is done, but we'd like to help manage your expectations down the road. To do so, we asked "This Old House" host, Kevin O’Connor, just how difficult some common home improvement projects really are, and when it's time to forgo the heroics and make a call instead. Here's what he had to say:
IT'S A SNAP (EASY)
Installing A New Faucet

Photo: Getty
This is an easy fix because an old faucet and a new faucet both probably attached to your sink in the same way. The physical attachment happens under the sink with a nut onto a threaded end. This hasn’t changed much in 70 years. Next, there are usually one to three holes in the sink top to receive the faucet and the hot and cold handles. When you buy a new faucet try to get one that uses the same number of holes with the same distance between them. Your sink has three holes but the shiny new faucet only uses one? No problem, most replacement faucets come with a flange that will cover all three.
WATCH: How to Replace an Old Faucet
Re-Caulking A Bathroom
First, let’s get our materials straight because caulking is often confused with grout and they are two different things with two different fixes. Caulking is flexible and it goes around the perimeter of the tiled surface and makes the connection between the tile and the tub, or the wall, or a counter top. Grout is hard, and it goes between individual pieces of tile.
Because it’s designed to stay flexible, caulking is easier to remove. Often times it can be pulled out in long stringy strips like old gum from the sole of your shoe. If that doesn’t work you can dig it out with a small pointed object, (plastic is preferred over metal) and they sell plenty of $5 devices for just this purpose.
They also sell plenty of chemicals that will help with the job. Once the old caulk is removed, clean the surface, let it dry, and reapply. It takes a steady hand to get the new bead of caulk smooth so practice first and have a damp cloth standing by to wipe away any mistakes.
Replacing Light Fixtures

Photo: Getty
Scared of electricity? Good, you should be. But if you turn off the power, then you’re in control and there is nothing to fear. The key to replacing a light fixture is reverse engineering. Ceiling fixtures, for example, aren’t attached to the ceiling but rather are attached to the ceiling electrical box, and that stays behind, ready to receive your new fixture. Once the old fixture is unscrewed, take a picture of how it’s wired (black to black, white to white wire, that sort of thing) and then disconnect those and remove it completely. The new fixture gets re-wired the same way as the old fixture (don’t forget the ground wire). Most fixtures have standard openings and threaded rods so fitting a new one into the old ceiling box should be a snap. Put it all back together and turn the power back on and you’ll know instantly if you did it right.
Two tips: buy a pencil-type electrical meter, it will always tell you if a wire is live or not. And second, ceiling electrical boxes are rated for weight so if you’re replacing an old fixture that doesn’t weigh much with something heavier, like a ceiling fan, make sure it’s secured to an electrical box rated for the additional weight.
YOU CAN DO IT, BUT BEAR DOWN (MEDIUM)
Molding And Trim: Adding Or Replacing
This is pretty easy, but it requires some tools. A decent miter saw is a huge help, if you don’t have one borrow or rent one. If you can’t do that, you might be able to limp along with hand tools.
Baseboards go along the bottom of your wall around the perimeter of your room. In most cases all you have to do is make a straight cut and get the length perfect. You’ve heard the saying measure twice, cut once? Well, I say measure twice, cut twice –- cut once a little long, dry fit it and then nibble it down a hair more until the length is perfect.
Crown molding is a bit more challenging, so if you throw in the towel here, no shame. If you keep going, then remember the trick to crown molding is to cut it “upside-down and backwards.” Crown molding has a detailed profile and when one profile meets another those details have to go together. So it’s important that you cut the 45-degree miter of two adjoining pieces the same way they lay on your wall and meet your ceiling. The trick is to lay the modeling on your miter saw “upside down and backwards” as if the base of your saw is the ceiling and the fence of your saw is the wall.
In either case, get yourself some extra trim, you’re going to need it.
Installing Hardwood Floors
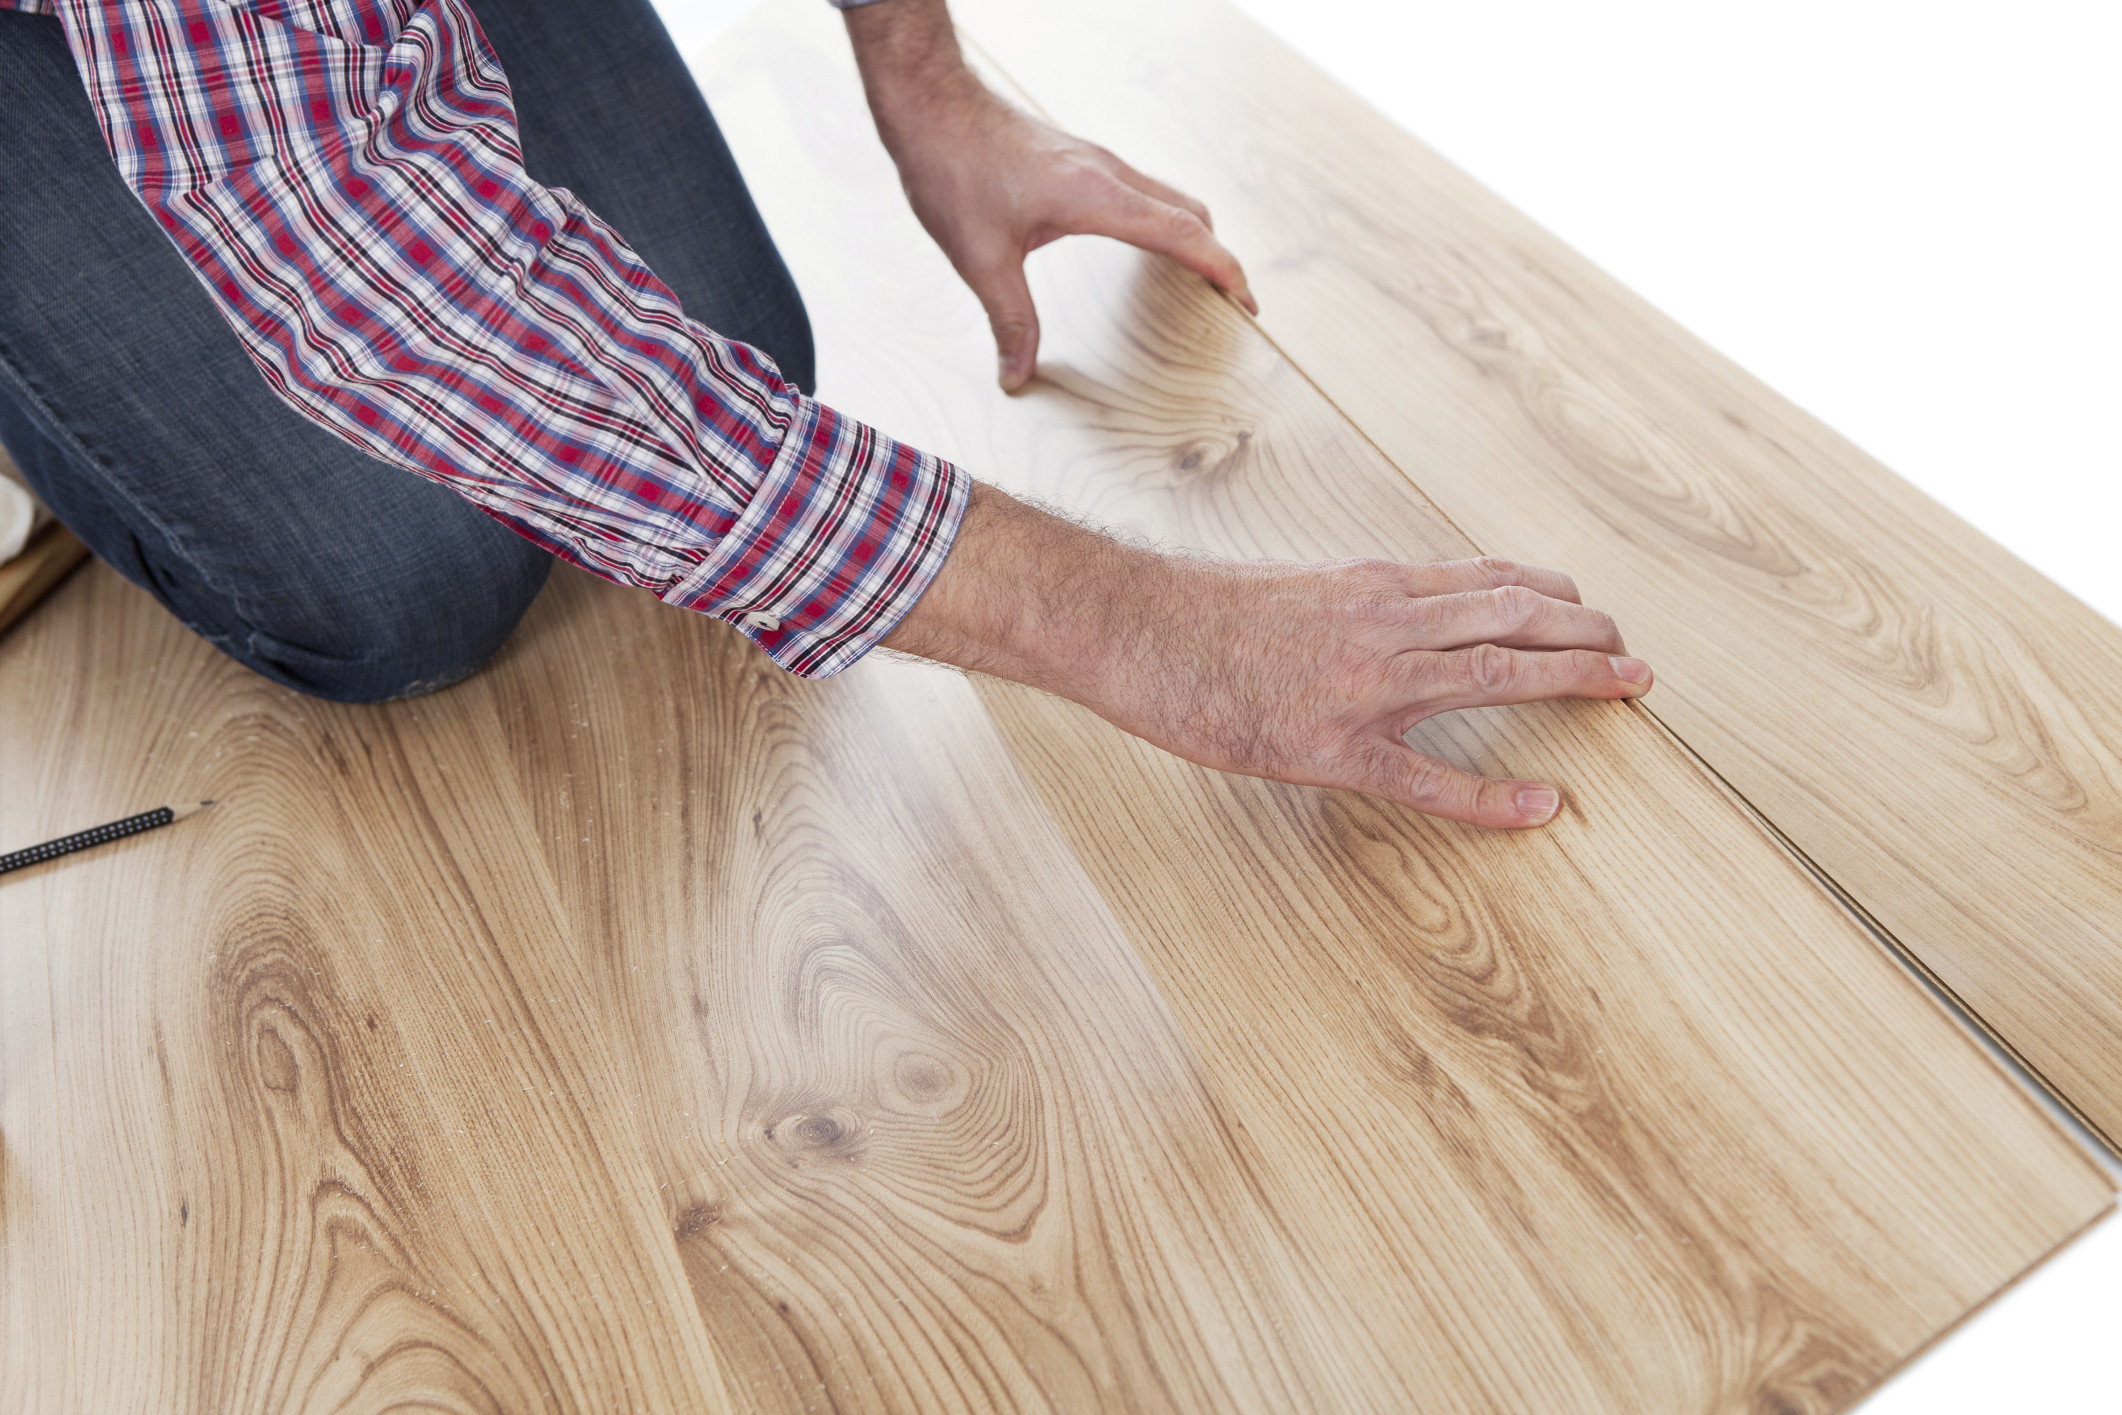
Photo: Getty
Those beautiful, gleaming hardwood floors must be a job for the pros, right? Not so fast. The thing that makes a wood floor so nice is the finish, and you can lay down a wood floor yourself and leave the finish to the pros. Here’s how: There are generally two types of wood floors. Either the unfinished, nail down type or the pre-finished engineered type. If you chose the first, the unfinished variety, buy the wood from a supplier and rent a compressor and pneumatic floor nailer from the same place or the home center. Get the special nails from them too. Start with a clean surface, make sure the first row is perfectly straight and square, and you’re off. One row gets nailed into the prior row. Stagger the joints, mix long and short pieces and take your time around the edges and you’ll be fine. When it’s all down, call in the pro to sand it smooth, apply the stain and the poly coat. That professional finish will make your hard work look awesome.
If you chose the second option, the engineered version, you can either nail it down like above, or you can use the floating floor variety. A floating floor means the individual strips of wood click or are glued to one another and are not nailed down. Since it's not secured directly to the sub-floor below it this floor “floats.” This is an easier and more forgiving installation than the nail down variety, in some cases it’s as easy as snapping it together. And here’s the kicker, that professional finish is already part of the floor; it’s pre-finished. So once you’re done clicking the floor is done.
Adding A Kitchen Backsplash
The key to a good backsplash is the backer. Tile likes to be set on something durable, like a cement board instead of dry wall. And good backer boards come in all types and names -- Hardiboard, Durarock, Wonderboard, etc. –- but the thing they have in common is their cement base.
Once you find the one you want you have to decide if you want to lay it on top of the existing drywall or cut away the old drywall and replace it with the backer board. I’d cut away and replace if it was my house. Once the backer board is in place trowel on a layer of thin-set (look it up) and set your tile in place. The key here is not to spread too large of an area at any one time. Slow goes it. Spread thin-set, insert tile, check your lines, straighten tiles, move on, and repeat. Once the tile is in place, go over the entire surface with grout. Use a rubber float, overspread, and wipe off the excess with a damp sponge.
The key to this project is to take you time. Mix only the amount of thin-set and grout that you need, get the layout right, check and re-check to make sure everything is level and straight.
To order your copy of Remodeling Hell, CLICK HERE
For more information about Remodeling Hell, CLICK HERE
For more information about the Summit Murder Mystery series, CLICK HERE
Follow me on TWITTER
Friend me on FACEBOOK
Follow me on PINTEREST

